The Three-Layer Method: Thickness Gradients, Temperature Control and Proportion
Assign each layer one job, keep the bulk in a single layer, and use measured hem reveals so layering adds interest instead of width.
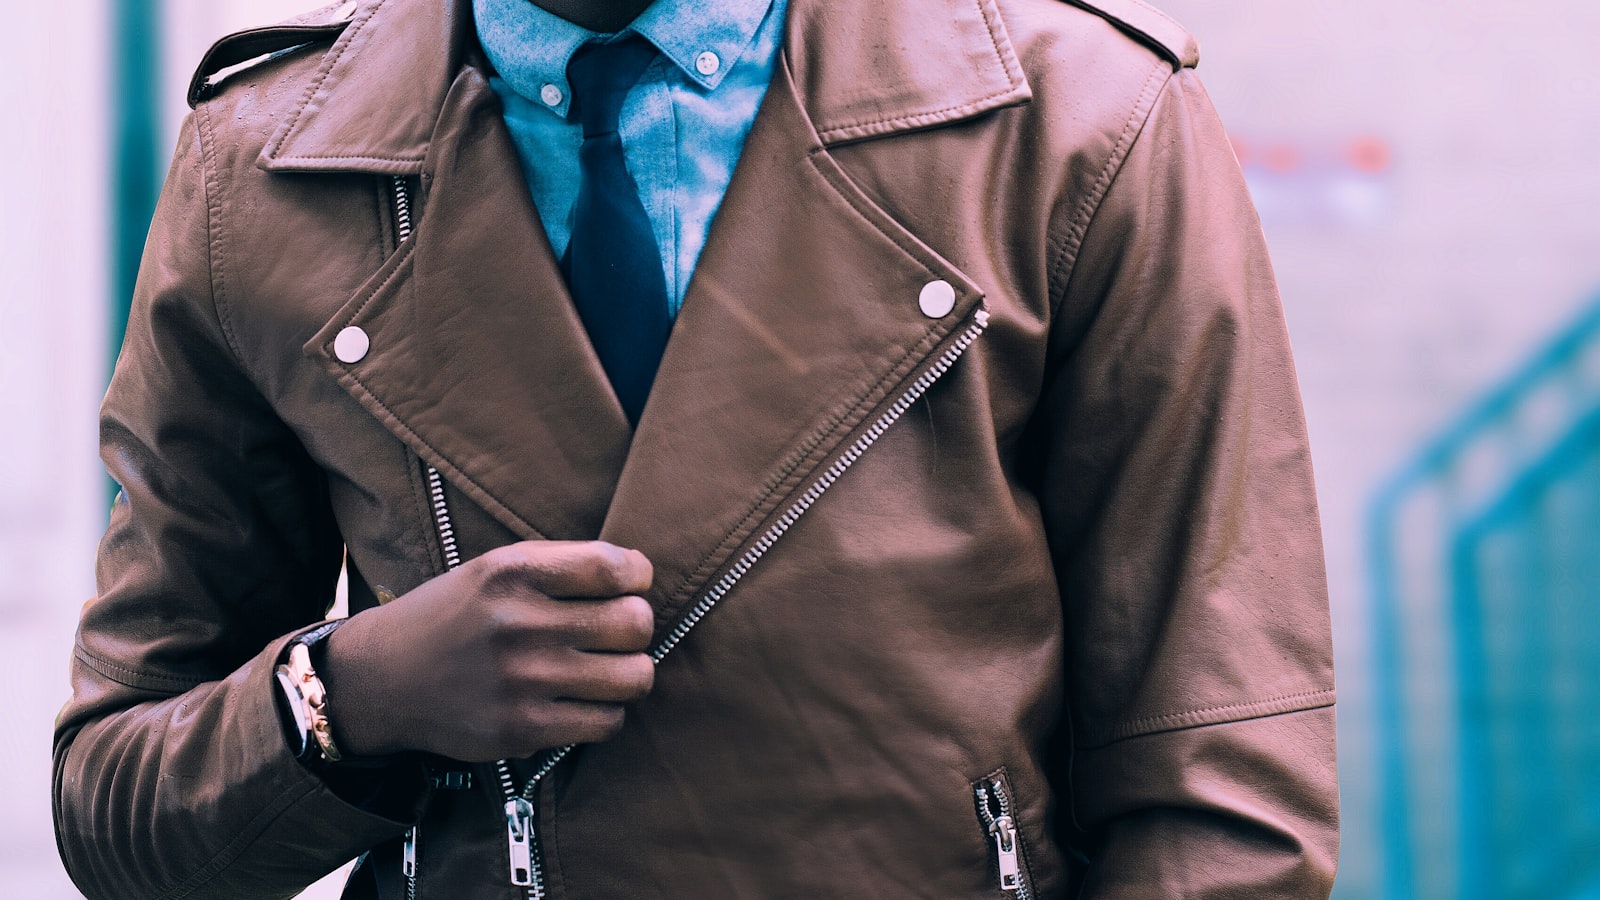
Layering is widely misread as piling garments upward until the cold stops, which is how it ends up looking bulky and unresolved. Layering that actually works is built like a sandwich, with structure: the inner layer sits against the skin, the middle layer holds heat, the outer layer blocks wind, and each has one assignment. What it solves is not only temperature. It supplies the density that plain outfits lack. A white tee can be made to read three different ways in three different kinds of weather, and that is the real argument for the technique.
What follows is a quantified version of the three-layer method: thickness gradients in centimetres, the hem reveals that make the lines work, fabric pairings, and specific combinations across the 15 to 25 degrees Celsius band. Once it is fluent you stop abandoning layers out of fear of looking wider, and start using it as the most content-rich way to dress on an ordinary day. It also rescues everything in the wardrobe currently filed under too plain to wear alone, which is usually a larger category than people admit.
The Sandwich: One Job per Layer
The standard division of labour goes like this. The inner layer handles skin contact and moisture, so a tee, a roll-neck or a fine knit, around 0.5 cm thick. The middle layer stores heat: a sweater, a sweatshirt or fleece, roughly 1 to 2 cm. The outer layer blocks wind and supplies the silhouette, a blazer, a trench or a padded coat, roughly 2 to 4 cm. With the jobs separated, the temperature holds steady and the outfit has a skeleton rather than reading as one undifferentiated mass of cloth.
The usual error is making all three layers thick, which inflates the body by a full size instantly. The correct approach is to let exactly one layer carry the bulk and keep the other two genuinely thin. If a heavy sweater is your middle layer, the outer should be a lightweight trench rather than a padded coat. Concentrating thickness in one layer is the single dividing line between layering that slims and layering that widens, and it is where most attempts fail, because people treat all three layers as insulation.
A quick self-check before leaving: lay the three layers out flat. If you can see a clear inner, middle and outer boundary with no bunching, the onion is sound. If all three are similar in thickness, swap the middle for something thinner immediately, because the bulk belongs in one place only.
- Inner 0.5 cm: tee, roll-neck, fine knit
- Middle 1 to 2 cm: sweater, sweatshirt, fleece
- Outer 2 to 4 cm: blazer, trench, padded coat
- Bulk stays in one layer, the other two remain thin
The Thickness Gradient and Looking Slimmer
For layers to look good, thickness should decrease from inside out, or hold an hourglass profile, and never swell at both ends. The slimmest arrangement is a thin inner, a medium middle and an outer that is structured but not heavy, using the outer layer's crispness to frame the body. If the outer is also soft and thick, the whole silhouette rounds off and loses definition, and layering has worked against you by outlining precisely what you meant to soften.
Shorter frames need tighter control: keep the three layers under 5 cm in total, and do not let the middle layer reach the hip, which compresses height. Taller frames can open up and use a long coat for presence. The thickness gradient is essentially a frame drawn around the body, and a clear frame reads sharp. It is also why the same three garments look elegant in one order and inflated in another: what you are wearing is not three items but a structure.
For reference: 0.5 cm inner, 1.5 cm middle and 3 cm outer sits in the comfortable band, with the three totalling under 5 cm. Shorter frames should subtract another centimetre from that total, or the thickness eats the proportion entirely.
Length and the Visible Edge
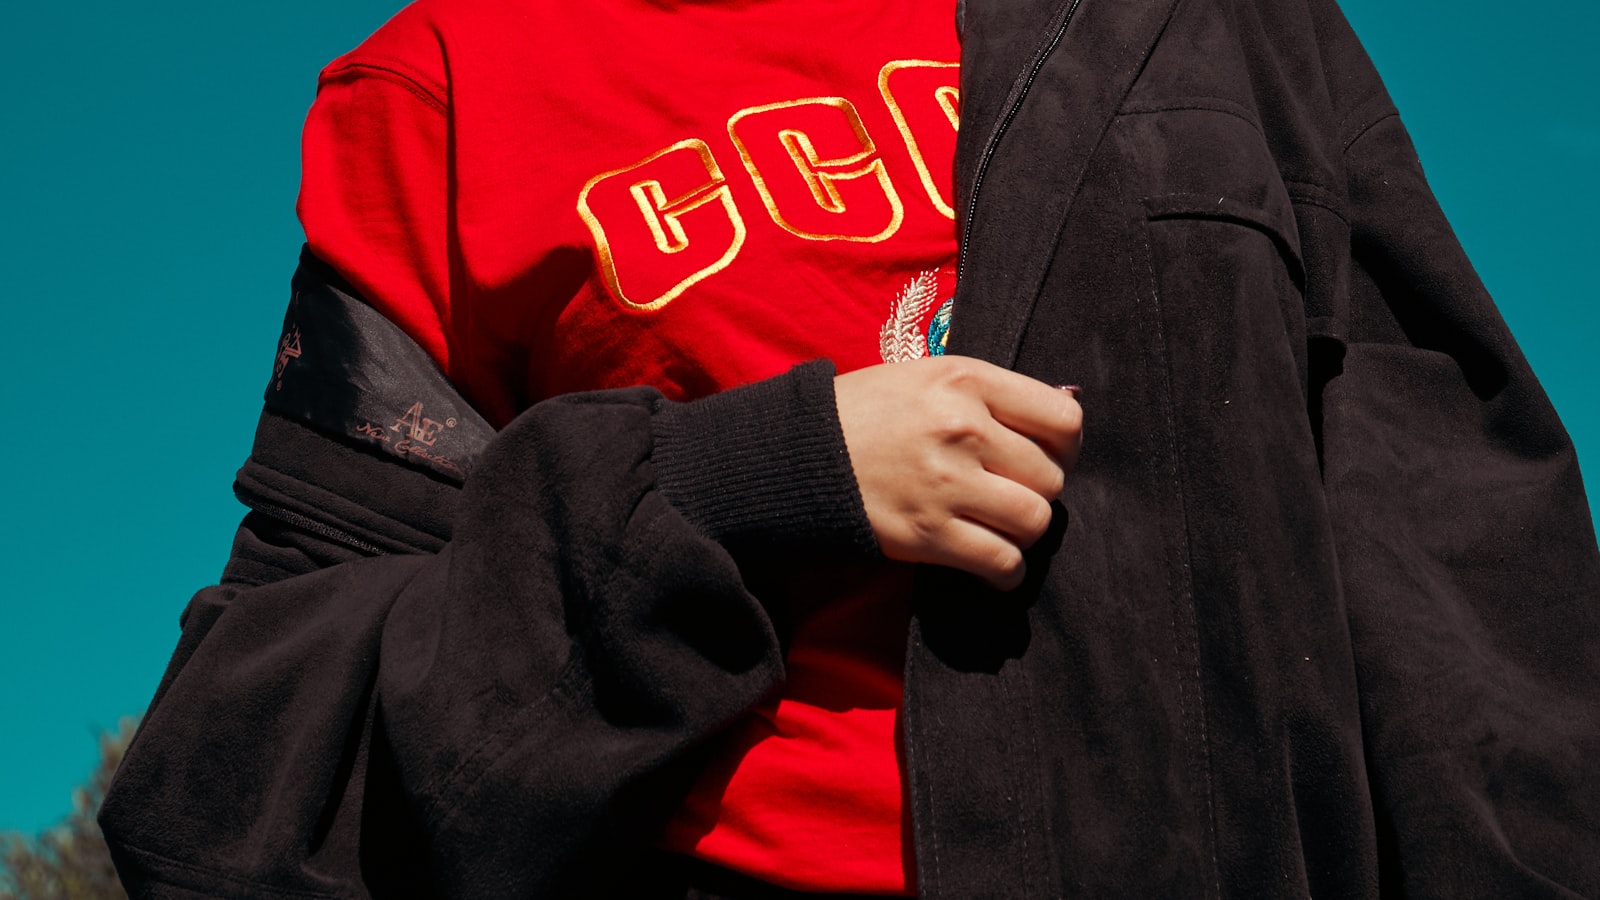
Whether layering looks resolved often comes down to the strip of fabric you allow to show. The general rule: the inner hem sits 5 to 8 cm below the middle layer, and the middle sits 3 to 5 cm below the outer, giving three staggered lines instead of one flat edge. A long tee under a shorter sweatshirt under a longer coat shows two hem edges, and the eye immediately reads rhythm, the way a stave reads with bar lines in place.
The same applies above. With the outer layer open, let the inner neckline sit 1 to 2 cm lower than the middle so a collar or a chain is visible, which creates depth. Avoid stacking roll-necks, which piles fabric at the throat. One roll-neck and one crew, offset, lets the neck breathe. The visible edge is the cheapest and most effective move in layering, it costs nothing at all, and it turns plain basics into something that reads designed.
In practice: take a tape measure and set the inner hem 6 cm below the middle, and the middle 4 cm below the outer, altering hems to those numbers if necessary. Measured stagger looks far more orderly than stagger estimated by eye.
- Inner hem 5 to 8 cm below the middle layer
- Middle hem 3 to 5 cm below the outer
- Necklines offset 1 to 2 cm, never stacked at the throat
Fabric Layers: Structure Against Softness
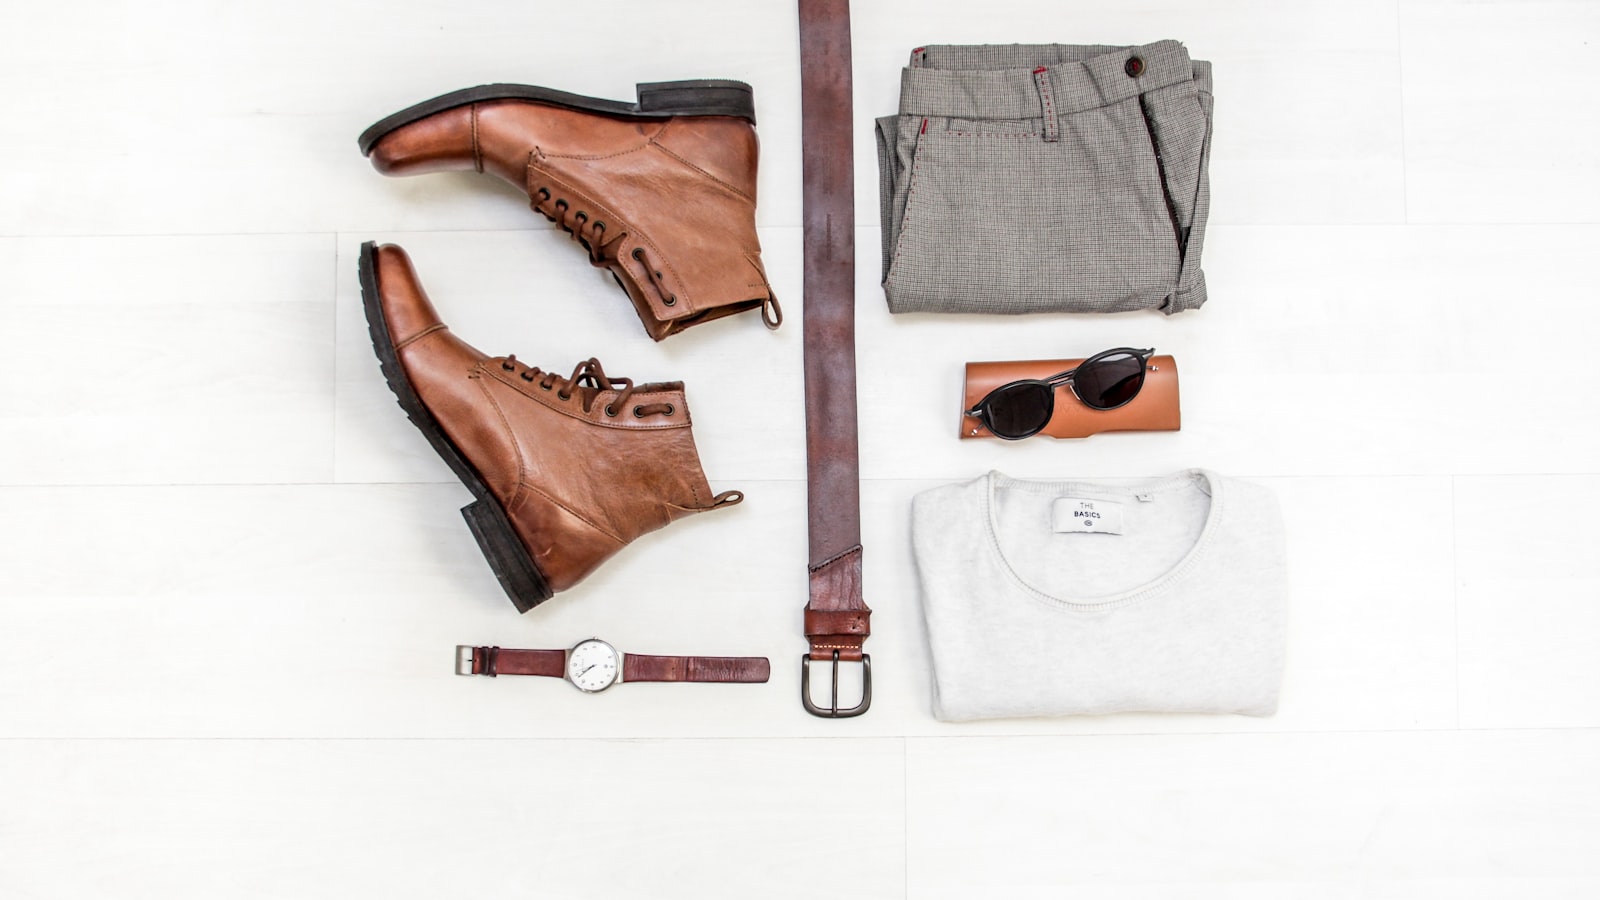
Fabric contrast is where layering acquires sophistication. A structured outer, tailoring, leather or a crisp trench, over a soft inner of knit or silk, gives you tension between rigid and fluid that neither all-soft nor all-hard can produce. A leather jacket over a silk cami has that tension immediately, so the outfit registers as more than one garment from across the street and, close up, offers a conversation between two different kinds of surface.
Avoid three layers in the same material, and be especially wary of all-cotton or all-knit, which blur into a single mass. If the outer is heavy wool, put something smooth beneath it to create a difference in reflectance. Fabric contrast delivers layers of light rather than layers of colour, which is precisely what makes the technique read expensive, and it is the reason inexpensive pieces can look considerably better than their price.
On budget: keep the sheen at the inner layer or in the accessories and let the outer stay matte and structured. Light then settles at the middle of the body, which gives content at a distance and a slimmer read up close, and it is the cheapest source of polish available.
Colour Layers: Value Steps Create Depth
Three layers in one hue at different values is the least error-prone colour scheme in layering. Dark outside with medium middle and pale inner, or the reverse with pale outside and dark inner, both separate the layers by value alone. If all three sit at the same value, even excellent structure smudges, and the whole point of layering is halved because observers see one thick garment rather than three deliberate ones.
To bring in contrast colour, put it in the inner or middle layer and keep the outer neutral, so the colour is framed rather than broadcast. A white shirt under a ginger knit under a beige blazer shows the yellow as a single visible band, restrained and effective. Colour depth working alongside thickness depth is what gives an outfit content in three dimensions: outline from a distance, detail up close, which is what finished layering should deliver.
One refinement: when the outer is dark and the inner pale, hold the visible pale strip at the neckline to under 3 cm, since more looks untidy. When the outer is pale and the inner dark, reverse the logic, because top-heavy always reads heavier.
Specific Combinations From 15 to 25 Degrees
Take the spring and autumn band of 15 to 25 degrees Celsius. Above 20, a thin tee inside, no middle layer or a light cardigan, and a lightweight trench outside, shedding the outer when it warms. Between 15 and 18, a long-sleeved tee inside, a thin sweater as the middle and the trench outside, all three in play. When it drops to around 12, swap the middle for heavy wool and the temperature management is complete, without wrapping yourself into a bear at the first cold snap.
For commuting, choose a middle layer you would happily wear alone at your desk, so removing the outer indoors is never awkward. Outdoor sport follows the same logic with different materials: quick-drying innermost, wind-resistant outermost. Decide the temperature first and the layers follow, which turns layering from blind stacking into a system you can calculate the night before from a weather forecast, and lay out in advance.
Commit three boundary numbers to memory: 22 degrees, remove the outer; 18 degrees, add the cardigan; 12 degrees, swap in the heavy middle. Put them in your weather reminders and the seasonal guesswork stops.
A Worked Example, Inside to Outside
Here is one three-layer colour scheme in full: a pale grey roll-neck inside, a mid-grey knit as the middle, a charcoal blazer outside, one hue deepening by a single value step per layer. From a distance it reads as a greyscale with air in it, far more sophisticated than three pieces in identical grey. Reversed, with pale outside and dark inside, the outfit goes top-heavy and the wearer reads weighed down.
The failure case is three layers in three hues: white tee, blue knit, green coat, each colour operating independently and cutting the sightline into three unrelated bands. The fix is to let neutrals carry the gradient and confine colour to the inner collar or the middle band, framed by the outer layer. What progresses across the layers is value, not hue, and the more hues involved the faster the whole thing scatters.
Practical checklist
- Give each layer one job, moisture inside, heat in the middle, wind outside, and do not let them overlap
- Concentrate all the bulk in a single layer, since three thick layers guarantees width
- Set the inner hem 5 to 8 cm below the middle so the staggered edges create rhythm
- Pair a structured outer with a soft inner to build contrast in light rather than in colour
- Layer one hue at three values, the most stable and dimensional scheme available
Layering is not judged by quantity but by whether each layer has a job and a boundary. The thickness gradient decides whether it slims or widens, the visible hem reveals decide whether the lines are alive, and fabric and value contrast decide whether there is anything to see from a distance. Think of it as a quantifiable structure and you stop giving up on it for fear of looking bulky. The value of three layers is precisely this: simple basics grow temperature and a story, so no day has to repeat the one before it.
Frequently asked
How do shorter frames layer without losing height?
What about a large gap between indoor and outdoor temperature?
Keep reading
More Styling
Dressing Petite: Division Points, Waist Placement and What Shoes Actually Do
Hem lengths by height, an exact waistline position and shoe choices that extend the leg, all measurable and all repeatable.
Dressing for Interviews: Industry Calibration and the First Seven Seconds
Calibrate formality to the industry, work the variables that genuinely shape a first impression, and run a checklist before you leave.

Minimalism Without Blandness: The Three Compensations
Cut supplies shape, material supplies substance, detail supplies sincerity, and together they fill the space that subtraction leaves behind.