The Complete Lip Guide: Texture Choices and the Trade-Offs of Lip Prep
Compare matte, velvet, gloss, and stain on payoff and wear, then get the prep, liner, and layering moves that fit the occasion.
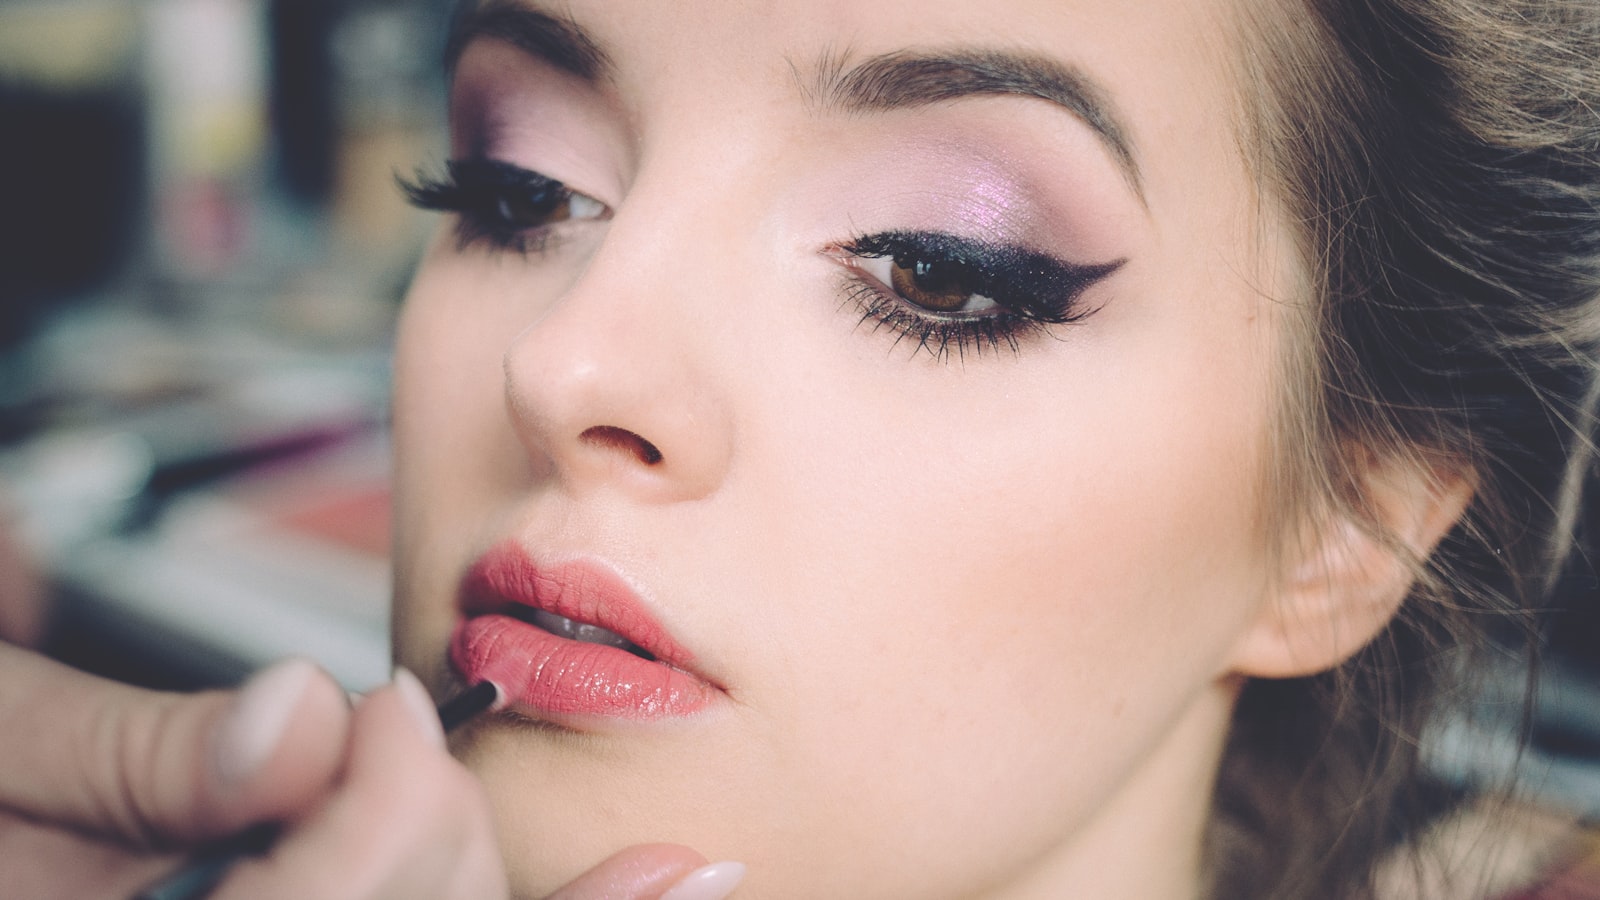
Lipstick is the last center of gravity on the whole face, and the easiest step to crash. Matte reads luxe but dries, gloss looks juicy but bleeds, stain lasts but resists removal, and every texture trades off between payoff, comfort, and wear. Pick the wrong texture and even the right color can't hold, think matte cracking into a drought in winter or gloss sliding to the chin in summer.
This piece pulls apart the specs and scenarios of four textures, then lays out the concrete moves of lip prep, liner, and layering, so you choose lipstick by occasion instead of mood, and know how to make one bullet last longer or wear wetter. Half of lip wear lives in overnight care, because dead skin and lines unsolved make even an expensive color look cheap.
The Trade-Off Specs of Four Textures
Matte lipstick carries high wax and pigment with low oil, so the color is solid and the finish flat-matte, but moisture is low and deep lines show cracked, wearing about four to six hours. Velvet sits between matte and moisturizing, with a little silicone oil for a soft-matte that doesn't drag, wearing three to five hours, the safest daily choice that balances finish and comfort.
Glossy lip lacquer carries a high ratio of oil and film-former, so it's plump and fills lines, but it bleeds past the edge and transfers obviously, wearing only two to three hours. Lip stain lets pigment sink into the surface, so it survives a drink but dries and is hard to remove, best for occasions that demand ultra-long wear. None of the four is superior, only scenario-matched, and reading the spec is how you choose right.
- Matte: solid flat color, four to six hours wear
- Velvet: soft-matte, not dragging, three to five hours, safest
- Glossy bleeds and transfers, stain lasts but resists removal
No texture is best, only most right for the occasion.
Lip Prep Is the Key to Lasting Color
Most lip patchiness comes from dead skin and oil. Before applying, warm a towel on the lips for thirty seconds to soften, then a lip scrub, sugar with honey or a store brand, in ten seconds of circles to lift dead skin, press it off, and lay a balm with ceramide or squalane for three minutes to absorb, then press the excess oil away with tissue. Skip that press and the later lipstick slips and bleeds.
After prep, if the lip color is deep or uneven, lay a thin concealer or a lip-specific base to unify the tone so the bullet reads true. With lip inflammation or peeling, treat the lips and skip color products, because painting over a wound only makes it worse. Prep is the invisible foundation of the lip, and skipping it wastes everything before it.
- Warm compress and scrub, then balm
- Press the excess oil off after balm to stop slip
- Deep lip tone: concealer to unify
A lip without prep can't hold even a beautiful color.
Liner and the Shape of the Edge
A lip liner should match the lip tone or run half a shade deeper, with a 1.2 mm core for control. First dot the two points of the cupid's bow and the corners, then connect; a rounded cupid reads youthful, a sharp one reads cool. Extending the corners about one millimeter outward lifts the mood, but beyond that it looks clownish.
For full lips, line about 1.5 mm inside the native contour to visually shrink; for thin lips, line about 0.5 mm outside and fill with a bright shade to plump. After the bullet, press the edge with a fingertip to fade into a bitten gradient, more natural than a hard line. Liner isn't mandatory, but it saves half the bleed accidents, especially under gloss.
- Liner matches tone or runs half a shade deeper, 1.2 mm core
- Full lips line in, thin lips line out 0.5 mm
- Fingertip presses the edge into a bitten gradient
Liner manages the boundary, not the whole shape.
Layering for Dimension and Wear
For lasting yet juicy, use the layer method: lay a matte or velvet base over the whole lip, blot with tissue, then set gloss only at the center for a shiny-middle, matte-edge dimension, the sandwich lip. Reverse it, a stain base then gloss on top, and wear passes six hours, still holding a base after eating and drinking.
The bitten look dabs bullet on the center with a fingertip and fades inward, leaving a natural soft edge, right for light makeup and a girlish mood. Layer in small amounts, a mung-bean size each pass; thin layers beat one thick coat and bleed less. At touch-up, blot the residue first, then add, because stacking directly clumps and darkens. Layering is dimension, not thickness, and less is more.
- Matte base plus gloss center makes the sandwich lip
- Stain base wears past six hours
- Bitten look: dab the center, fade the edge
Layering is dimension, not thickness.
Texture by Occasion
Commute calls for velvet or a moisturizing finish, low-key and easy to refresh. A date dinner wants gloss or stain, juicy and focused, unbothered by eating. An important meeting or speech wants matte, steady and not awkwardly cup-stained. Long outdoor activity wants stain plus balm, skipping constant touch-ups and holding eight hours without panic.
Summer heat bleeds color, so gloss needs a liner and less amount; winter dryness prioritizes moisturizing and velvet, and matte needs heavier prep. One velvet for daily, one gloss for accent, one stain for rescue covers ninety percent of scenes, no need for a drawer of bullets. Choose texture by occasion, not mood, and that's the core of a lip that doesn't crash.
- Commute velvet, date gloss, meeting matte
- Summer gloss pairs with liner to control bleed
- Three bullets cover ninety percent of scenes
Choose texture by occasion, not mood.
Removal and Overnight Lip Care
Stain and long-wear lacquer demand an eye-and-lip remover with an oil phase, pressed ten seconds then wiped gently, no rubbing back and forth, which damages the lip lines and sets pigment deposits. Ordinary lipstick just takes a remover tissue swept horizontally. Unremoved pigment gradually deepens the lip color and shows a dark ring over time.
At night, lay a thick balm with vitamin E or shea overnight, and the next morning dead skin drops and application smooths. Lips need sun protection too, so a balm with SPF outdoors. Consistent overnight care improves lip texture more than a pricey bullet, and it's the most underrated step.
- Stain: eye-lip remover, press ten seconds, no rubbing
- Overnight balm treatment
- Lips need SPF too
Half the quality of a lip is raised overnight.
The Hidden Link Between Lips and Teeth
Tooth color shapes how a lip reads. Yellow teeth should avoid cool blue-reds and fluorescent pinks, which act like a magnifier on the yellow; warm orange-red or brick-red is friendlier. White teeth can take a blue-toned true red to boost contrast and look even whiter. Deep natural lip color should be unified with concealer before a light shade, or the light gets eaten and reads dirty.
Before a key group photo, a temporary whitening or blue-toned clean can lift the teeth so a cool red photographs better, but that's an occasion tactic, not a daily need. Remember the final read of a lip is the joint result of lip color, tooth color, and texture, and picking color alone misses the tooth link. For the specific shade logic, see the lip shade matching piece.
- Yellow teeth avoid cool blue-red, pick warm orange or brick
- White teeth can take blue-toned true red for contrast
- Deep lips: conceal first, then light
The read of a lip is the combined force of lip, tooth, and texture.
Practical checklist
- Pick texture by occasion: matte for meetings, gloss for dates, stain for rescue
- Warm compress and scrub before wear, press the oil off after balm
- Liner matches tone or runs half a shade deeper, saves half the bleeds
- Layer in small passes, the sandwich lip balances wear and shine
- Stain needs eye-lip remover pressed ten seconds, no rubbing
- Yellow teeth avoid cool blue-red, deep lips conceal first
The hard part of lips isn't the color, it's the texture and the prep. Treat the four types, matte, velvet, gloss, stain, as tools for different scenes, pair them with the three processes of lip prep, liner edge, and layered dimension, and one bullet can hold in any setting. Remember half the lip lives in overnight care, because dead skin and lines unsolved make even an expensive color look cheap, and don't miss the tooth link, warm solid shades are kinder to yellow teeth. Lips are a detail job, and details are where they shine. Also don't ignore the relationship between lips and the whole face: when the lip is saturated, ease the eyes, and when the lip is pale, the eyes can weigh in a little, because two fighting focal points read messy. Treat the lip as the closing center of the face, echoing what came before, and the look is complete.
Frequently asked
Why does my matte lipstick always crack into the lines?
How do I make lipstick last without cup stains?
My glossy lacquer always bleeds past the edge, what do I do?
Keep reading
More Makeup
Eye Makeup Basics: The Three-Shade Structure and Blend Boundaries
Build dimensional eye looks on a base, transition, and depth structure, and master the blend boundary and eye-shape adjustments you can actually copy.
Eyebrow Design: Mapping the Arch to Your Face Shape and Brow Color
From placing the arch by face shape and matching brow color to hair, to tweezing frequency and the stroke order, a complete method for brows that are actually yours.
The Complete Logic of Base Makeup: Order and Technique from Primer to Setting
From sunscreen and primer through concealer and powder, we break down the dosage, tools, and sequence of every step into a base routine that won't cake or patch.